A Personal Dr. Pepper Ramp Build Blog

One of the great things about working for In Depth Events is not having one day that is the same as the last. All of the previous events I have worked included stage and riser set up. This event was extremely different. I was assigned to work at the Dr. Pepper Ballpark on a wooden ramp. This ramp was being built in one of the seating sections by 3rd base. It was built in order to get equipment from the road down to the field so they could redo the field.
Preparing for Build of the Ramp

I showed up for this job on the third day of the build without any previous experience on a wood project. All risers and stages I have worked on in the past were steel with premade holes in the legs. As soon as I turned the corner I saw the massive wooden ramp about halfway built. An entire section of seating had been taken out and there were stacks upon stacks of wood. We had a team of nine (including myself) working on the ramp that day.
Two of us started working on putting together bolts for the ramp by taking a bolt and adding two washers and a nut to each one. Putting together these bolts saved a lot of time when we actually started inserting them into the wood on the ramp. Another person was using the power saw to cut wood pieces to the exact sizes needed for each piece of the ramp.
Building of the Ramp
 Once the braces were in place we took a drill bit and made holes wide enough for the bolt to go through. After the hole was drilled another person would go behind inserting and tighten the bolts. This was repeated in the next step adding an extra piece of wood on either side of the brace and inserting four bolts. This was done ensure that each section was strong and stable. Finally, trestles where added flush with the braces using wood screws. The trestles were added in a pattern that had every other row of braces placed at the exact distance from the other.
The space available to work in while putting the pieces together was very small. It took a lot of patience and focus trying to drill each hole and insert each bolt. The gaps between each wood piece were just large enough to put one leg and a small handheld drill in. Our team quite literally worked side by side on this project, the entire duration of the build.
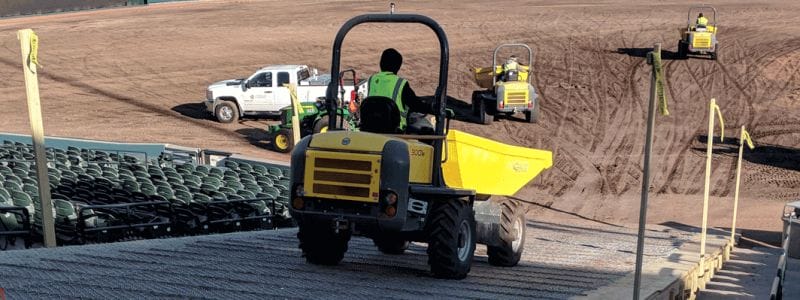
After all braces, bolts, and trestles were put together precut pieces of plywood were then added to the top. Two layers of the plywood covered the entire surface of the ramp. The plywood created the smooth surface needed for them to drive on. This specific project used around thousands of bolts and screws along with hundreds of pieces of wood.
My first day on site ended up being 10 hours of making, inserting, and tightening bolts. This project taught me many new and extremely useful skills in carpentry. It also tested my balance, focus, and patience throughout the build. I look forward to the next project with In Depth Events, I’ll be writing about it!